Follow us:


By default, WordPress automatically prepends “Private:” or “Protected:” to the titles of posts that are either private or password protected. While this helps identify restricted content, it often feels impersonal or unnecessary—especially when you want a more professional presentation.
The good news is, you can easily customize these prefixes or remove them completely. In this guide, we’ll show you how.
What are Private or Protected Posts in WordPress
WordPress gives you different visibility options for your posts. Apart from the default “Public” setting, you can also make posts Private or Password-Protected.
Private posts are only visible to users who are logged in with the Editor or Administrator role. Regular visitors won’t see these posts at all.
You can select the option under the ‘Status & Visibility’ box on the editor screen.
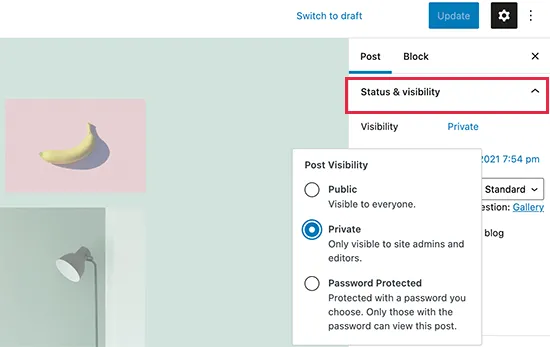
Password-protected posts allow you to share content with a wider audience, but only those who know the password can access the content. This is useful for sharing drafts, previews, or exclusive content.
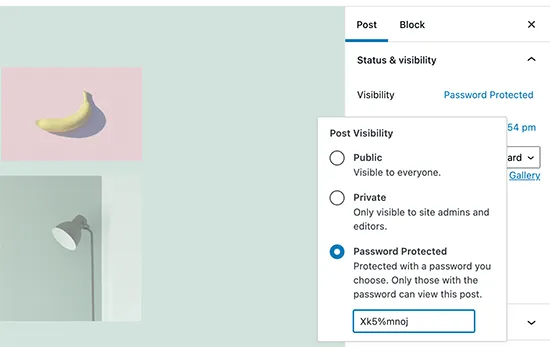
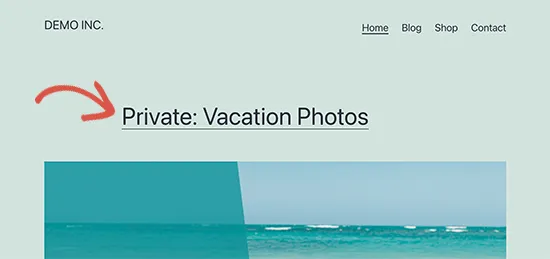
In both cases, WordPress automatically adds a prefix—“Private:” or “Protected:”—to the post title.
See how a private post appears:
See how a password-protected post appears:
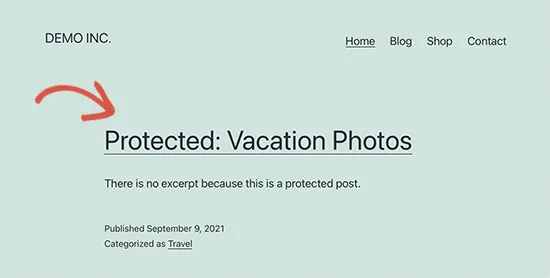
While this serves as an indicator, it may not always look good in your design or match the purpose of your site.
Change the Prefix with PHP Snippets
You can change the default prefixes by adding a small snippet of code to your theme’s functions.php file, a child theme, or by using a code snippets plugin. Check out: How to Safely Add Custom Code to WordPress
To change the “Protected” prefix:
function change_protected_title_prefix() {
    return 'Family Only: %s';
}
add_filter('protected_title_format', 'change_protected_title_prefix');
The code above will modify the prefix.
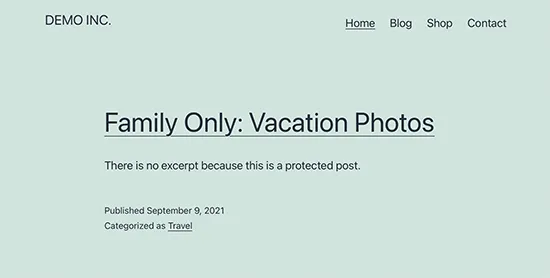
To change the “Private” prefix:
function change_private_title_prefix() {
    return 'Editors Only: %s';
}
add_filter('private_title_format', 'change_private_title_prefix');
Check the updated prefix for private posts.
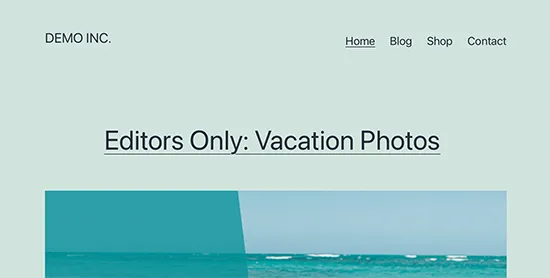
You can replace “Family Only” and “Editors Only” with any text you prefer.
Remove the Prefix Completely
If you don’t want any prefixes to appear at all, you can remove them entirely with the following snippet:
add_filter('private_title_format', 'disable_title_prefix', 99, 2);
add_filter('protected_title_format', 'disable_title_prefix', 99, 2);

function disable_title_prefix($format, $post) {
    return '%s';
}
This will display only the post title, without “Private:” or “Protected:” at the beginning.
Which Method Should You Choose?
- Use custom prefixes if you want to give collaborators or clients a clear indicator while keeping things professional.
- Use no prefix if you want a cleaner and simpler look, especially on a public-facing site.
Final Thoughts
Customizing private and protected post prefixes is a small but effective way to improve your WordPress site’s usability and branding. Whether you decide to replace them with your own labels or remove them completely, the process is quick and only requires a few lines of code.