Follow us:

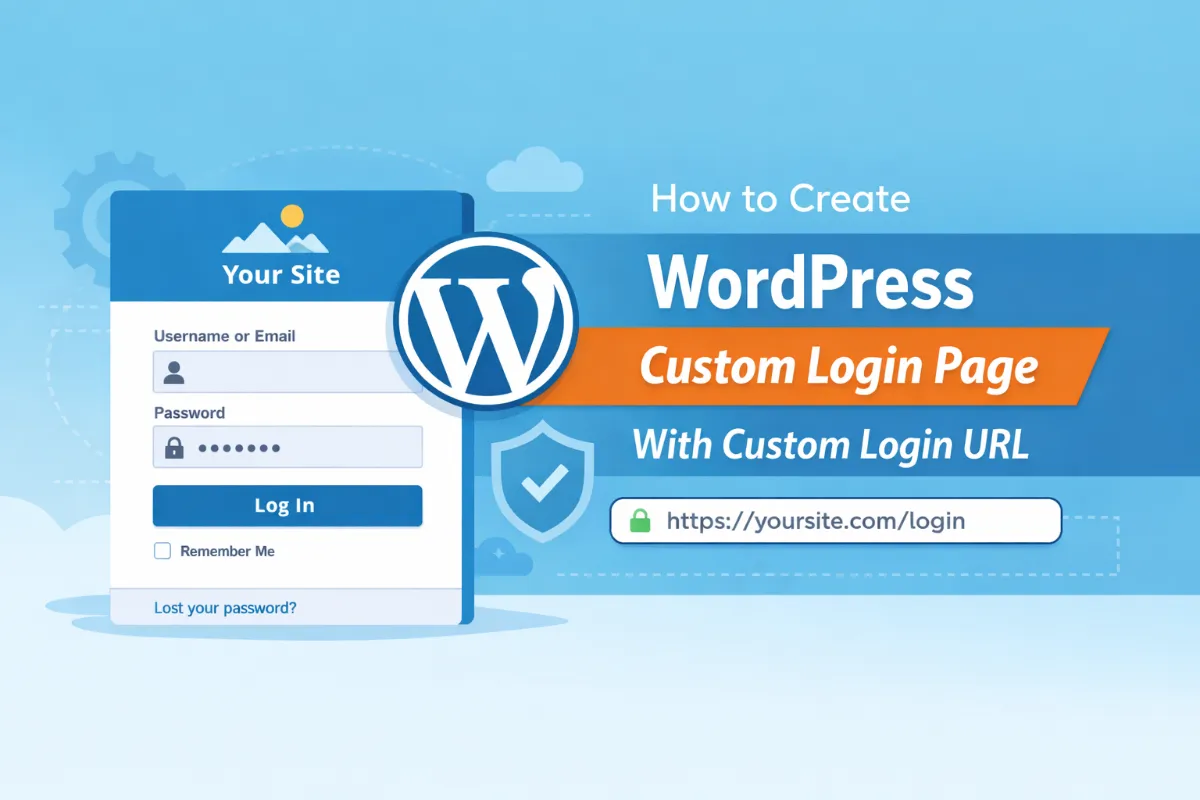
Customizing your WordPress login experience is a great way to strengthen your brand, improve usability, and even enhance security. Instead of the default WordPress login (wp-login.php), you can create a fully branded login page and change your login URL — all without writing custom code.
In this tutorial, we’ll show you how to build a custom login page and set a custom login URL.
Why Customize Your WordPress Login Page?
By default, WordPress uses a generic login screen that doesn’t reflect your brand or website design.
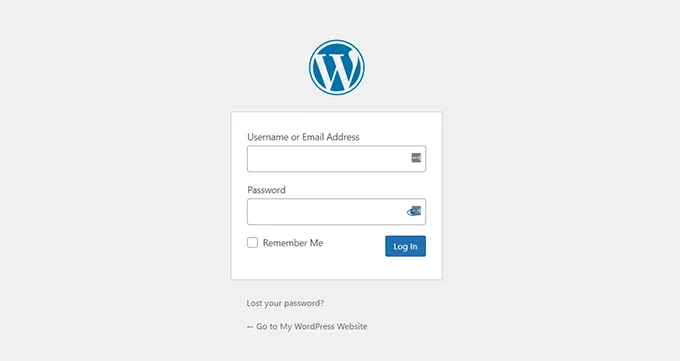
A custom login page lets you:
- Match your branding with custom logo and colors
- Create a seamless user experience for members
- Improve security by changing the default login URL
- Redirect users after login based on roles
- Remove the default
/wp-adminaccess for non-logged-in users
What You’ll Need
Before beginning, make sure you have:
- An active WordPress site
- Administrator access to the WordPress dashboard
- Ultimate Dashboard installed and activated
Ultimate Dashboard is a powerful tool for customizing your admin area and login experience. It includes a Login Customizer and Login Redirect feature that we’ll use here.
Step 1: Install and Activate Ultimate Dashboard
- Go to your WordPress dashboard.
- Navigate to Plugins → Add New.
- Search for Ultimate Dashboard.
- Click Install Now, then Activate.
Once activated, you’ll see the Ultimate Dashboard menu is added.
Step 2: Customize the Login Page
The Login Customizer in Ultimate Dashboard lets you completely redesign your login screen using the WordPress Customizer.
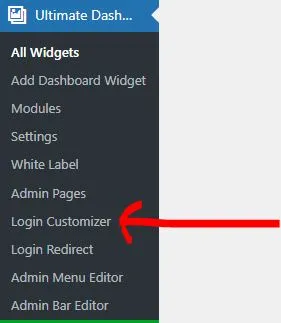
- Go to Ultimate Dashboard → Login Customizer.
- You will be taken to the customizer..
- From here you can:
- Add your own logo
- Change background colors or image
- Adjust branding text and design styles
- Preview changes live before publishing
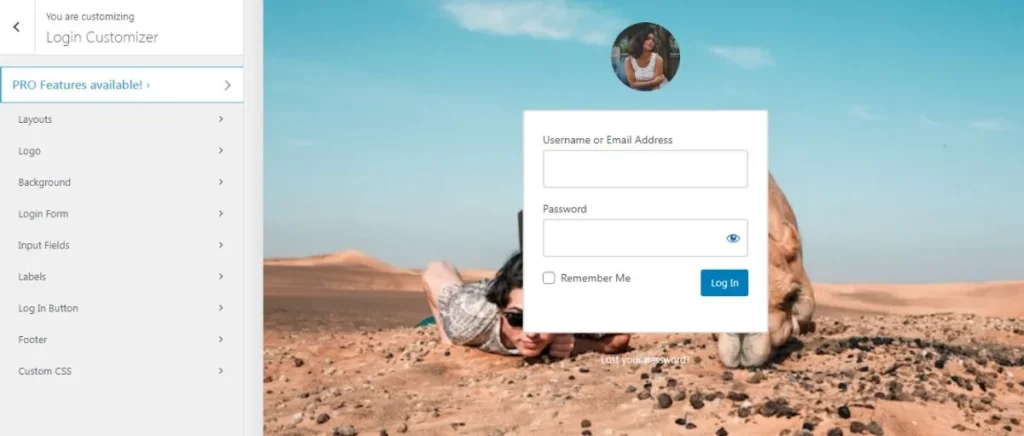
Example customizations you might want:
- Replace the default WordPress logo with your site logo
- Add a full-width background image
- Match your site’s brand colors
- Style the login form fields and button
Tip: A clean, branded login page builds more trust for users logging in to your site.
Step 3: Create a Custom Login URL
Ditching the default login URL improves both branding and security. With Ultimate Dashboard’s Login Redirect feature:
- Head to Settings → Ultimate Dashboard.
- Find the Login Redirect section.
- In the Change Login URL options, you will find the ability to set New Login URL.
- Enter your custom login URL slug — for example:
https://yoursite.com/passage- Don’t forget to set the Redirect Admin Area. Otherwise, you won’t get any benefit, as everyone will be just redirected to your secret login link if they try to visit
https://yoursite.com/wp-admin - Save your settings.
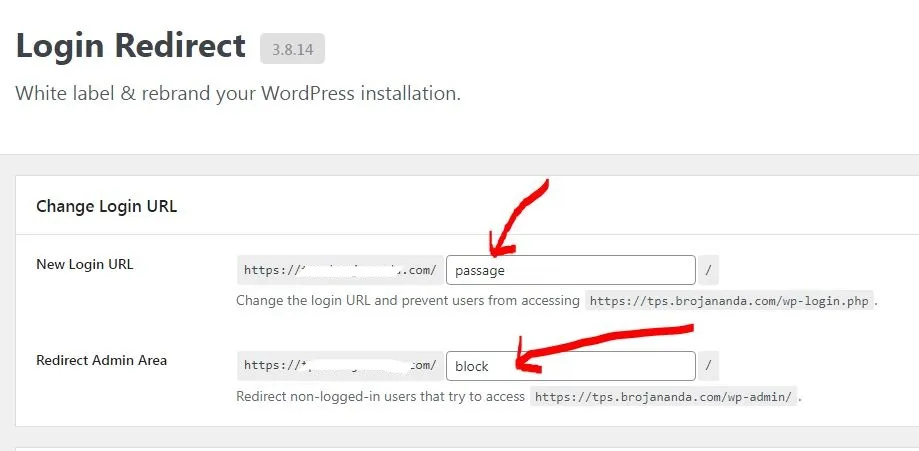
Once set, the old /wp-login.php and /wp-admin paths will no longer work for regular users.
Important: Save this URL somewhere safe! If you forget it, you may be locked out and need to deactivate the plugin via FTP or your host’s file manager to regain access. (This is true for any login URL change plugin.)
Step 4: Redirect Users After Login (Optional)
If you want to send users to different pages after login — such as a dashboard, profile area, or homepage — you can also set role-based redirects.
- While still in Login Redirect settings, scroll to the redirect options.
- Choose a destination URL for each user role (Subscriber, Editor, Admin, etc.).
- Save your changes.
This is especially helpful if you’re running a membership site or community where users should land on specific pages after logging in.
Step 5: Test Your New Login Page
- Log out of WordPress.
- Visit your new custom login URL.
- Verify:
- Custom logo and branding show correctly
- The page looks polished and readable
- You can log in successfully and get redirected appropriately
If anything looks off, go back to the Customizer or Ultimate Dashboard settings to tweak.
Bonus Tips for Login Security
While customizing your login experience:
- Use a security plugin alongside this setup to protect your login form
- Enable Cloudflare Turnstile or other bot protection mechanisms
- Limit login attempts to prevent brute-force attacks
Recap: What You Achieved
By following this tutorial, you’ve learned how to:
✔ Customize your WordPress login page design
✔ Change your login URL to improve branding and security
✔ Redirect users after login based on role
✔ Use Ultimate Dashboard features to manage login behavior